food

'I made RecipeTin Eats' "world's easiest hot cross buns" and yes, they really were.'

I love buns. 

The hot cross variety. I mean... all buns, in all forms (if you're picking up what I'm putting down), but specifically I'm talking about spiced sultana bois that make my heart sing approximately once a year.

Because as much as I love a hot cross bun, I don't give them a second thought for 11 out of 12 months of the year.

I am a neglectful lover.

There's also something about Easter that makes me want to try to make my own Easter buns, and why would you do that when you can buy two packs from Woolies for $6 you ask. And you have a very good point. Because baking BREADS with YEAST and KNEADING is a notoriously frightening prospect.

Except.

It is not frightening. Or even difficult. Yeast? Easy to work with. And kneading? It isn't even necessary and we've been a fed a lie our entire lives...

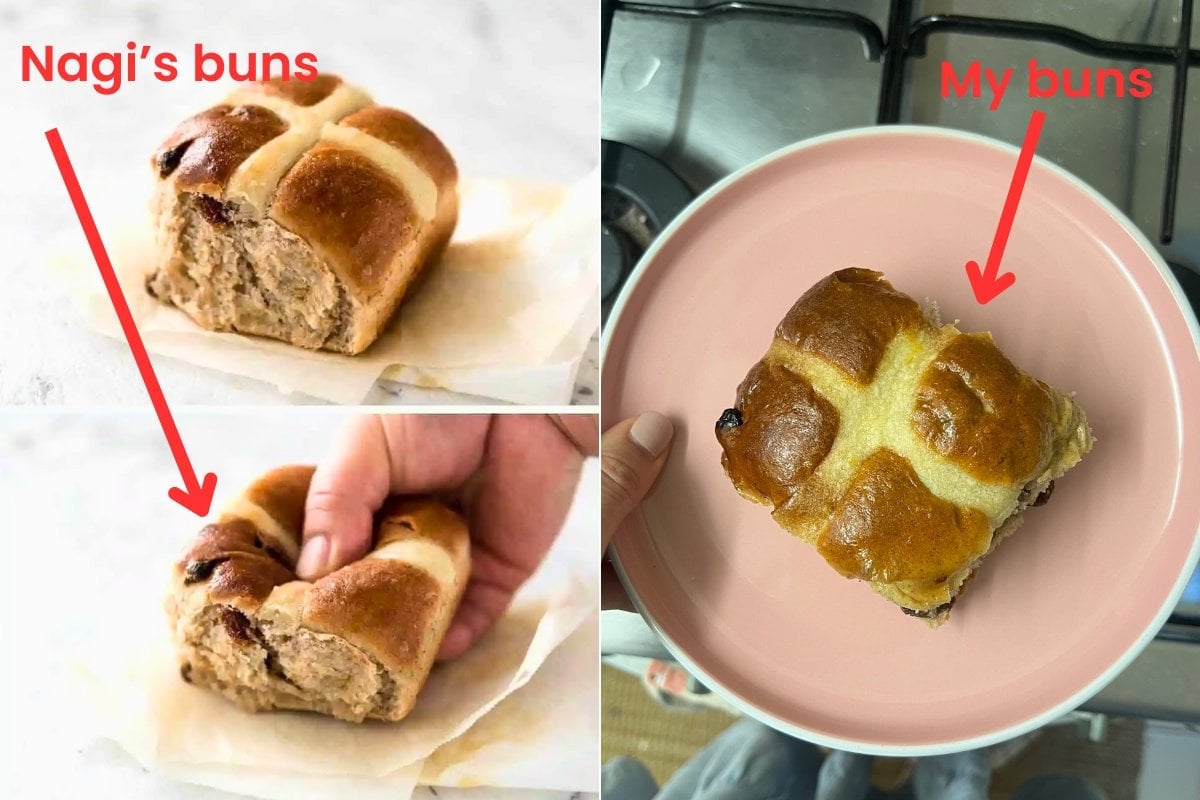
It's no secret that Nagi Maehashi, AKA the genius and food goddess behind RecipeTin Eats, has come up with so many banger recipes, which she shares over on her website. And she sneakily snuck a hot cross bun recipe that she *humbly* (also... accurately) calls "the world’s easiest hot cross buns recipe!"

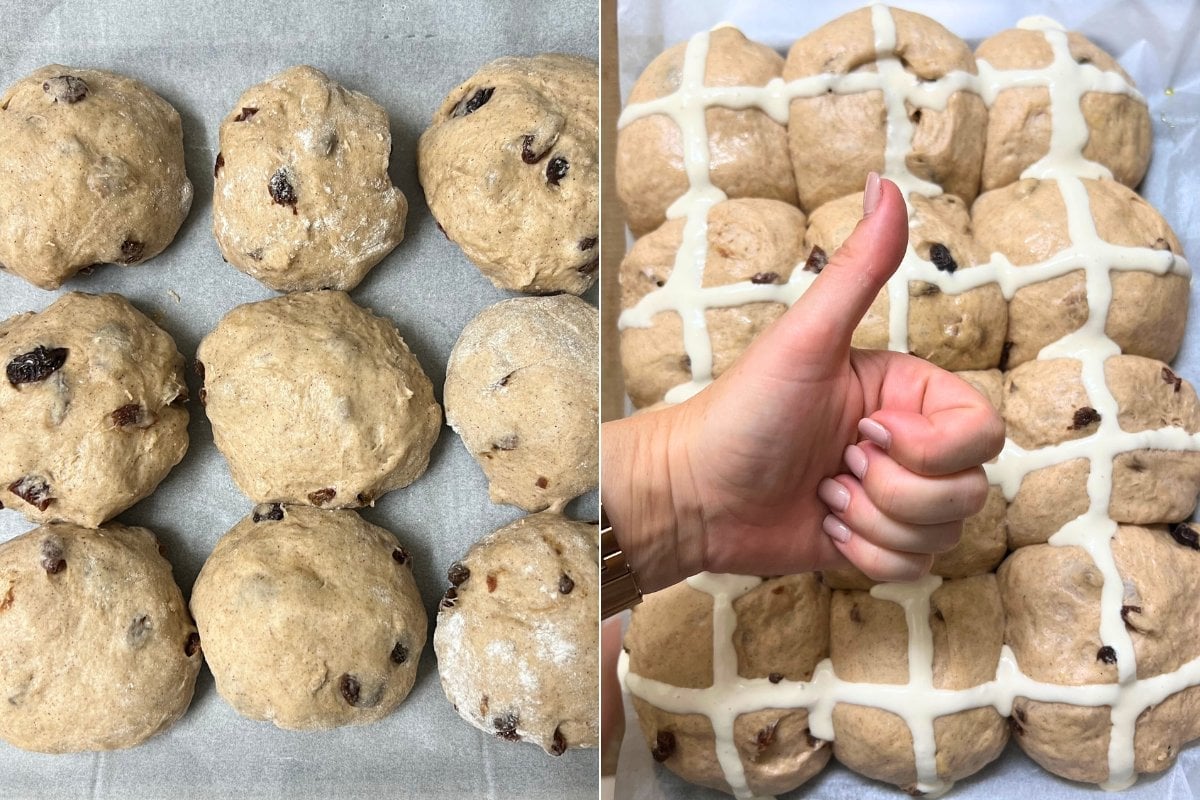
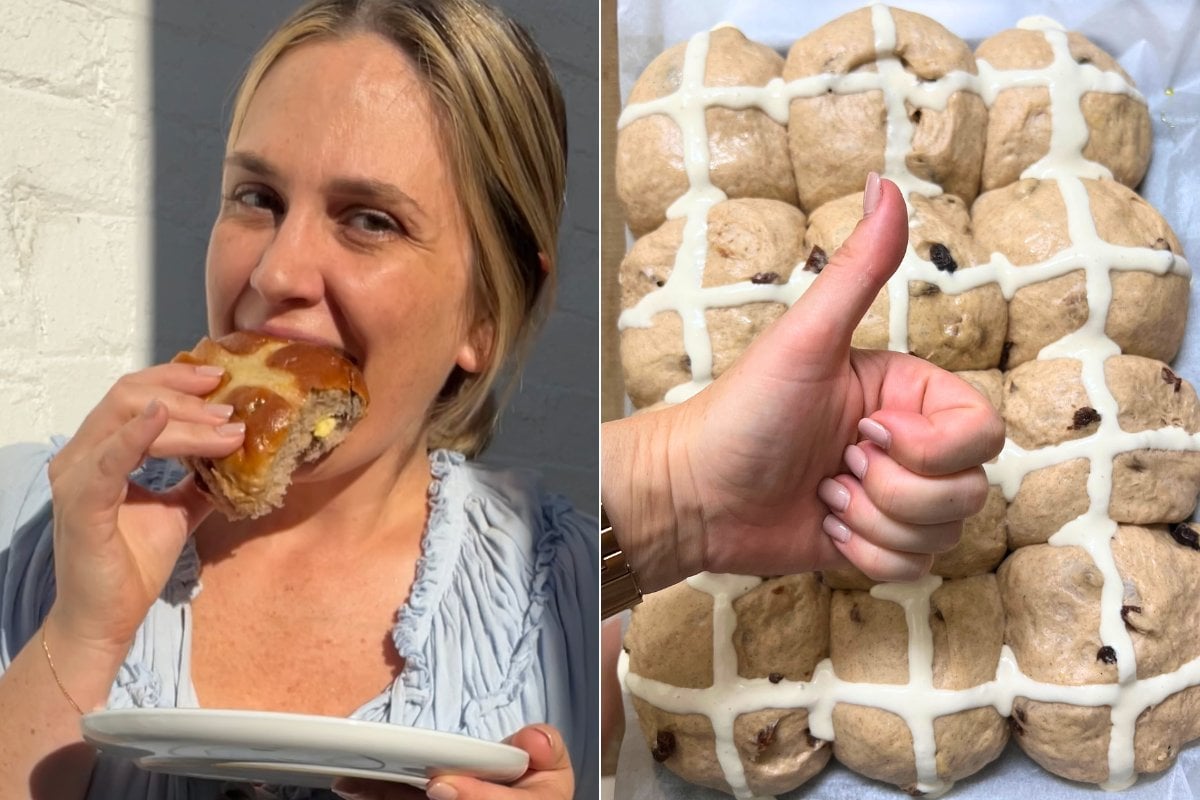
I had to try it, obviously. Because I love both hot cross buns and things that are easy. And while it would've been arguably easier to go and buy them, this was definitely more fun, and I felt like a baking ~queen~ when I was done. 

Full disclosure: I have a KitchenAid, and Nagi provides a version of the recipe that uses a stand mixer, but to prove that it's very possible to whip up some bloody good buns with nothing but my bare hands, I went for the manual version. 

ADVERTISEMENT

And they did not disappoint — but I DO have some notes. 

1. Let's talk about yeast. I know, it seems scary. I don't know where yeast got this reputation, but he's not a bad guy, I swear. The trick/s? First off, all make sure your yeast isn't past its use-by date. That's easy. You'll know if it is because it won't froth (and if it doesn't froth, your buns won't rise, simple as that). Second, make sure the water you mix it with isn't too hot. The test is this, according to Nagi: "Stick your finger in. If it was a bath, would it be pleasant? Good. It's not too hot or too cold!" Same goes for when you're heating milk later on in the recipe — try heating it for 45 seconds on high in the microwave, and then test — would you bathe in it? Hypothetically speaking...

2. These are easy, but they're not quick. You get breaks, though. About three hours' worth, because after your first batch of mixing, you leave the dough to double in size for about two hours. You come back, you roll it into buns, then you leave it for ANOTHER hour. Keep this in mind when you're thinking about when you want to eat these buns (and get up at 4am-ish if you want them fresh for brunch). 

3. My crosses were too runny. This is because I didn't follow the recipe and I added more water because I thought I knew better and I WAS WRONG SO VERY WRONG. My punishment was drippy crosses. Don't let it be yours. 

3. As Nagi mentions in her recipe notes, they're a little drier than a machine-mixed version, and don't keep for as long, so you'll want to eat them all pretty quickly. How awful for you.

4. Don't let your buns rise for longer than they should! I misread the recipe and thought they needed two hours for the second rise, which meant that I went off to the gym and left them for TOO long, resulting in them drying out a bit. This is my fault, not the recipe's. And they were still delicious. But... the more you know. 

ADVERTISEMENT

4. Best served slathered with butter (duh).

NO-KNEAD Hot Cross Buns (so effortless!).

Ingredients

Buns:

  • 1 tbs dry yeast – any type (active dry, rapid rise, instant — I used Lowan Instant Dried Yeast)
  • 1/2 cup (110g) caster sugar, or sub with normal white sugar
  • 1/2cup (125ml) warm water
  • 1 cup (250 ml) milk, lukewarm, whole or low fat
  • 4 cups (600g) bread flour (or plain white flour) + extra for dusting
  • 2 tsp cinnamon
  • 2 tsp allspice OR mixed spice
  • 1/2 tsp salt
  • 1–2 oranges, zest only
  • 1 1/2 cups (210g) sultanas
  • 50g (3.5 tbsp) unsalted butter, melted and cooled
  • 2 eggs, at room temperature, lightly beaten with fork

Crosses:

  • 1/2 cup (75g) flour (any white flour)
  • 5 tbsp water

Glaze:

  • 1 tbsp apricot jam
  • 2 tsp water

Method

1. Place the yeast and 2 teaspoons of the sugar in a medium bowl, then pour in water. Leave for 5 minutes until it froths.

2. Place flour, remaining sugar, salt and spices in a bowl. Whisk to combine.

3. Make a well in the centre. Add remaining Buns ingredients and pour in the yeast liquid, including all froth.

4. Mix until combined with wooden spoon – it will be like a thick muffin batter. Not pourable, but thick and sticky.

Rise #1

  • Leave dough in the bowl, cover with a wet (clean) tea towel and place in a warm place to rise for around 1 1/2 – 2 hours. See Note 5 for how I do this (you will laugh – but it works every time!). The dough will triple in size and be bubbly on the surface.

👍🏼👍🏼👍🏼 Image: Supplied.

ADVERTISEMENT

Forming balls

1. Line a 31.5 x 23.5 cm / 9 x 13″ tray with baking paper with overhang. 

2. Remove tea towel and punch dough to deflate.

3. Dust work surface with flour, place dough on work surface. Dust top of dough then knead lightly (to deflating air) and shape into a log. Cut into 12 equal pieces.

4. Take one piece and press down with palm, then use your fingers to gather into a ball, then roll the dough briefly to form a ball. This stretches the dough on one side and that’s how I get a nice smooth surface.

5. Place the ball with the smooth side up on the tray. Repeat with remaining dough. Line them up 3 x 4.

Rise #2

  • Spray a piece of cling wrap lightly with oil (any), then loosely place over the tray.
  • Return tray to warm place and leave 30 – 45 minutes, until the dough has risen by about 75% (less than double in size).
  • Partway through Rise #2, preheat oven to 180°C/350°F (all oven types).

Yes, these are bigger... Image: Supplied.

ADVERTISEMENT

Crosses

1. Mix flour and water until a thick runny paste forms.

2. Spoon into a round 3mm piping bag or small ziplock bag then snip corner.

3. Remove the cling wrap and pipe crosses onto the buns. Go slow so it hugs the curves.

Bake and Glaze

1. Bake in preheated oven (180°C/350°F) for 22 minutes, or until the surface is a deep golden brown. The surface colour is the best test for this recipe.

2. Meanwhile, place jam and water in a bowl, microwave for 30 seconds. Mix to combine.

3. Remove buns from oven. Use overhang to lift buns onto a cooling rack. Brush with jam mixture while warm. Allow to cool to warm before serving.

I mean, you can barely tell the difference, right?! Image: RecipeTin Eats; Supplied

ADVERTISEMENT

These are best served on the day you make them, and they dry out kind of quickly, but if you simply can't get through them all in one sitting (you can do it! I believe in you!), reheat for 15 seconds in the microwave or cut in half and toast these bad bois. Lashing of butter will also help moisten a dry bun. 

Enjoy!

Alix Nicholson is Mamamia's Weekend Editor. For more adventures in baking (and eating baked goods) follow her on Instagram.

Feature Image: Supplied.

Are you someone who loves beauty, health, or self-care? Take our short survey to go in the running to win a $50 gift voucher!
Tags: