beauty

A makeup artist on 11 surprising ways to get longer-lasting foundation.

Every clever beauty girl knows that a good makeup routine starts with your base layer of products. But it can be mighty confusing to know what should you be using (so many products! So many brands!) — and most importantly, how to make it stay put all day long.

Well, on a recent episode of You Beauty, host Shazzy Hunt gave us ALL of the answers about how to achieve longer-lasting foundation.

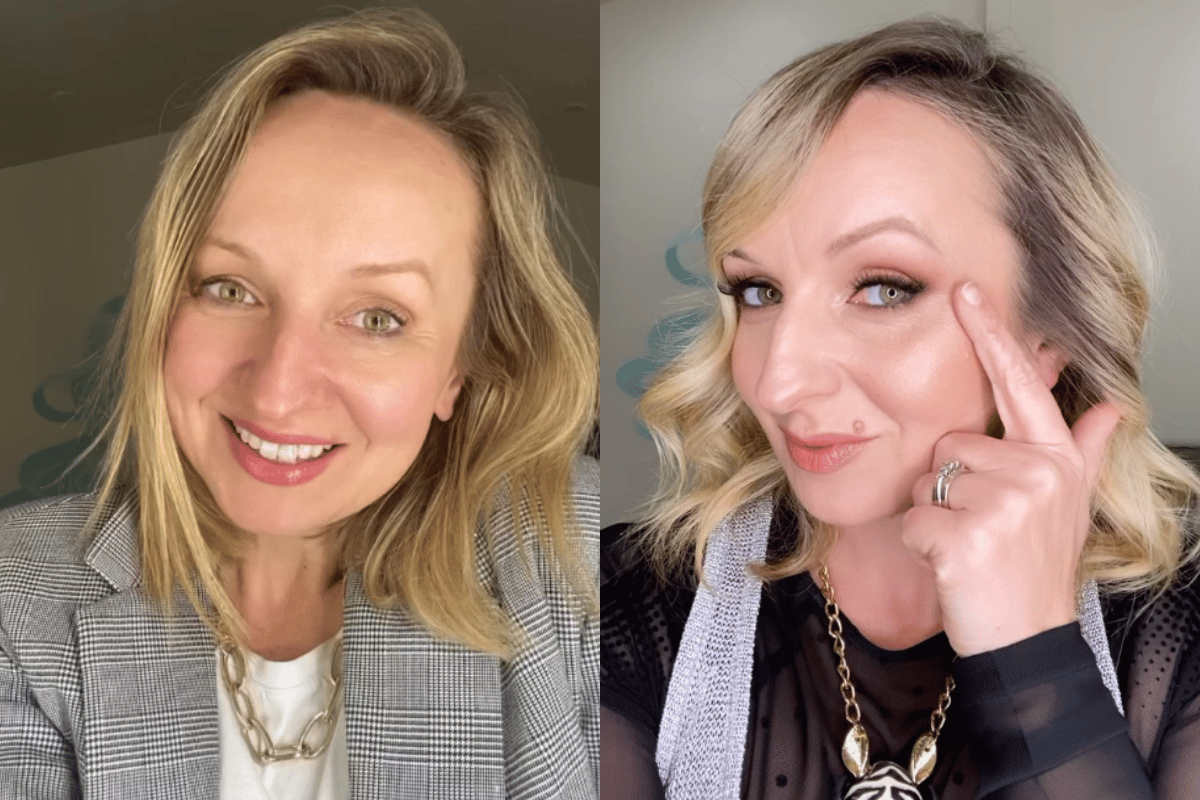
She spoke to Aleksandra Pinneri, a South Australian-based hair and makeup artist, and founder of the Business to Beauty Academy online course.

Watch: Speaking of foundation... I tried the 10-pump foundation hack. Here's what happened. Post continues below.


Video via Mamamia

According to Pinneri, base makeup is all about creating an even skin tone, and cancelling out any concerns (e.g. redness, dehydration). She described it as a 'security blanket' for our face.

So how do we keep our security blanket... on? 

Here, Shazzy asked Pinneri all of her top tips for nabbing the best, longest lasting foundation — including what not to do.

1. Less is more.

There's truly nothing worse than going to all the effort, and using all of the products for your base makeup, only for it to end up going all smudgy and faded.

ADVERTISEMENT

The trick here, according to Pinneri, is simple. Try to use less.

"Makeup is something external that's put on your face," she said. "It's not meant to last all day. The general rule here is the more you put on, the more maintenance it's going to be."

Listen: Wanna listen to the episode? Tune in here. Post continues below.

"If you're someone with beautiful skin, don't cover it with foundation. All we're trying to do is eliminate different pigments — for example, if you've got a bit of blue under your eyes or if you've got red on your cheeks. You don't need coverage to be thick to counteract these things." 

"Beauty is seeing the person's face, not looking at their makeup. If you're able to do that with using less foundation, your makeup is going to be so much prettier than layering thick layers of product."

For this reason, Pinneri recommends using either a serum foundation, like a BB cream or CC cream, or using a medium coverage foundation for a natural, lightweight finish that will last the distance.

2. Prep your skin.

The most important thing you need to do for longer-lasting foundation is to nail your skin prep.

"For example, if you have oily skin, use micellar water to remove excess oils — even the eyelids — and really make sure that all of that is gone. You also want to make sure you've cleansed and you've exfoliated prior to makeup application," said Pinneri.

ADVERTISEMENT

"This means you've got rid of your dead skin cells. This is important because when you put that foundation on, if your skin is dry, it's going to suck up the moisture from the foundation, and therefore, it's going to look like dry skin." 

"If your skin is oily and you've put foundation on, it's just going to be producing more and more oils. So you really need to nail your skincare prior to applying makeup, as that's what's going to make your makeup last."

So, how do you know what you need to do for your skin? 

Well, Pinneri said it really comes down to what your skin feels like after you wash it or when you come out of the shower. For example, does it feel tight when you smile? It's probably dry.

"I would recommend using a moisturiser that's really nice and hydrating, before you put your foundation and waiting for that to actually seep in," she suggested. "And then apply your products. If it's oily, use a mattifying moisturiser, because just because your skin is oily, doesn't mean it's not dehydrated."

Hear, hear.

3. Use setting spray first. 

Wait... what?

Apparently this is one of the first steps to longer lasting foundation and... MIND. BLOWN.

While most of us usually add setting spray as the last step of our makeup routine, Pinneri said this should be the first thing you do before applying makeup. Yes. The first thing!

ADVERTISEMENT

Confused? 

Applying setting spray first makes your skin tacky. And tacky skin means grippy skin. And grippy skin won't let your foundation slide around your face.

"Obviously you've already cleansed your face, so then you're going to spritz it with a makeup setting spray, like your Urban Decay All Nighter."

"If you spritz your face with a makeup setting spray, it becomes tacky, which means things are going to stick on."

"This is a little trick to make it last longer if you're going to be using a liquid foundation. So, obviously there will be different steps depending on what you're using," she added.

4. Choose a primer for your skin type.

Next up, primer. But don't just use any old primer — you're going to want to pick the right one for your skin type.

"Primer can be applied with your hands, but you have to really choose the right primer for oily skin or for dehydrated skin," said Puneri.

"Look for words like 'tacky', 'sticky' or 'illuminating' — that will give you the solution that your skin needs to give you the look that you desire."

"For affordable options, e.l.f Cosmetics Power Grip Primer is great and NYX Cosmetics have a really good oil control and pore filler one."

"Primers are basically like Spanx but for the face. They pull everything together nice and smooth, and fill in all the dots. And that's what is going to make that outfit on your face look perfect all day."

ADVERTISEMENT

5. Use a brush for best results.

According to our expert, makeup brushes are generally the best tool to apply your foundation. 

"Squeeze some foundation on the back of your hand and then pick up your brush — this is going to be able to give you a better distribution."

Puneri said when you apply foundation with your hands, you're kind of just smearing it on top of your skin, whereas with a brush, you're able to stipple it into the skin. 

"That's also going to make it last longer and give you a more blended, seamless look," she said.

When it comes to what brushes are best, Pinneri said kabuki brushes are great. This is more of a fatter, round brush that'll "give you the ability to not just swipe from left to right but also press it into the skin," she added.

6. Start in the middle of the face.

When you're applying the foundation, the rule of thumb is to start in the centre of your face, and then work your way out. This is because the centre of your face is usually the area that needs the most coverage.

"It'll also ensure you don't have this massive foundation line along your hairline," adds Pinneri.

Properly blended foundation? We love to see it.

7. Choose your foundation depending on your skin type — not longevity.

"People think they need a matte foundation if they want their makeup to last all day," said Pinneri. "That's not true."

Oh.

"Because if your skin is dehydrated, and you put a matte foundation on top of it, you're going to be struggling to smile because everything's going to feel so cakey."

ADVERTISEMENT

Eeeep! 

"So, choose your foundation based on your skin type. And you don't need a full coverage foundation for it to last long."

"I personally love to use a light-to-medium coverage, and then I use concealer in the parts that I know wear down the most, like my T-zone and my nose (always goes red) and my chin (also always goes red). I also get a bit oily in these areas, too. That's why I'll use a concealer on my T-zone, which is a more medium coverage and more mattifying." 

"But everywhere else, it will be dewy and I'll use something like a CC cream."

"I'm obsessed at the moment with the L'Oréal Serum Foundation. It's really glowy and light, so I don't feel like I've got cake face."

8. A beauty blender is better for sensitive skin.

The other tool to have on hand? A beauty sponge. 

Pinneri said, "Make sure that you first run it under water so it absorbs and doubles the size. Then, squeeze out all the water and use it to dab that foundation in, especially around the chin. We also don't want to get any lines around the jawline and around the hairline."

"I find the nose is the area that we probably get the most breakdown of product because it tends to get oily. So, grab your beauty blender and really stipple it in."

"You can even smile and crease your face and see how your foundation is looking while you're doing those faces to really work that sponge into your creases, like your laugh lines."

ADVERTISEMENT

Pinneri said if you have sensitive skin, you're also better to stick to a beauty blender and ditch makeup brushes.

"If you have sensitive skin and you use a foundation brush, you're actually disrupting your skin texture. You're going to find that even though you've used a brush to apply your foundation, it's still looking a bit red. That means that your skin is better suited to a sponge."

Good to know!

Just be wary that sponges soak up a lot of the product, so you'll go through makeup a lot faster!

"It also collects a lot of bacteria. So there's a lot of maintenance with sponges, as opposed to brushes, which are easier cleaned."

Read: Wash. Your. Sponges.

9. Use a setting spray after foundation.

Okay, but apparently you're supposed to use your setting spray at the beginning, middle and end of your makeup routine??? We need to sit down. 

Hands up who else has just been keeping it for the end?!

As Pinneri reminded us, "This is like your heavy duty, long-lasting makeup that you want to last for 12 hours. These are the little things that you can add."

"Remember, once you've set it, it is going to be quite wet. Don't keep applying more makeup while your face is wet, because you're going to move that product away," added Pinneri. 

So, let things dry down first!

10. Concealer should go AFTER foundation.

Once it's all set, then you use your concealer. (Yep, concealer should go after — not before — foundation).

ADVERTISEMENT

Why after? "Because if your foundation has already done its job, why would you need any more product? You wouldn't."

Touche. 

"When I put foundation on my under eyes, it's still looking a little bit blue. So, I like to get a colour correcting concealer, which means more of a peachy orangey-tone concealer. And I only apply that in the corners of my eye where I get my darkness. And less is more, once again." 

"Start with a tiny bit — and not like influencers on YouTube where they kind of paint their face."

"There's also a colour corrector that's got more of a greener undertone. This is for cancelling redness. For anyone with rosacea, eczema, broken capillaries or redness around the nose — you might want to put a little bit on those areas. 

Any guesses as to what you do once you've applied your concealer? You guessed it.

Setting spray time!

"Once you've done that you would spray again with your setting spray," confirmed Pinneri.

11. Use powder as the last step to set your base.

The last step? Powder. 

"There's two different types of powders. There are ones that mattify and set. And there are ones that are illuminating," said Pinneri.

"My favorite illuminating powder is Hourglass Veil Translucent Setting Powder. It's got light reflecting particles that bounce light off your skin without it making it look oily. I like to put that all over my face at the end with a really light powder brush."

ADVERTISEMENT

*Adds to cart*.

"But before that step, I actually use a tiny little powder puff and I drench it into a more mattifying powder," shared Pinneri.

"You press the powder puff into the under eye area where you might have a darker zone, aswell as into the nose where you have your larger pores or redness and you press it into your chin and in between your brows." 

"These are your hotspots, and these are the ones that create the most shine."

She said to leave that powder on for a minute or so, and just kind of let it sit there. Then, get a really light, fluffy (not dense) brush and very lightly tap off that powder. "That is going to mattify your T-zone so nothing moves," said Pinneri.

"Then at the end, bring that beautiful, glowy, natural-looking skin in with an illuminating powder." 

"This is going to be your bullet-proof foundation base. Once again, use your setting spray and then go into your blush and contouring and that whole other part."

And there you have it! Makeup that will last ALL day (and probably all night, too).

What do you think of the above tips? Have you got any to add? Share them with us in the comment section below.

Feature image: Instagram/@aleksandrapinneri.

Do you have any Streaming Video Services in your household? e.g. Netflix, Binge, etc. We want to hear from you! Take our survey now to go in the running to win a $50 gift voucher.