kids

5 DIY sensory activities for your kids that won't break the bank.

Moose Toys
Thanks to our brand partner, Moose Toys

Squishing dough between your hands, finger painting and catching bubbles are time-honoured childhood play activities. It’s only since becoming a parent that I have come to understand that these all fall under the umbrella of 'sensory play', which, in addition to being a heap of fun, also offers fantastic developmental benefits.

From an early age, our children explore the world by utilising their senses, and one of the best ways to encourage this is by embracing sensorial toys and activities.

Admittedly, some (but not all!) sensory play is messy. But if you consider the proven benefits that sensory stimulation has on building nerve connections and neural pathways in young growing minds, then surely that’s worth spreading out a bit of newspaper on the floor.

The other great thing about sensory play is it doesn't need to be pricey. There are well-priced sensory toys and activity kits, or you can go full DIY with supplies from the supermarket or craft store, or even just improvise using items around the house.

Here are a few of our family’s favourite sensory play activities that won’t cost the world.

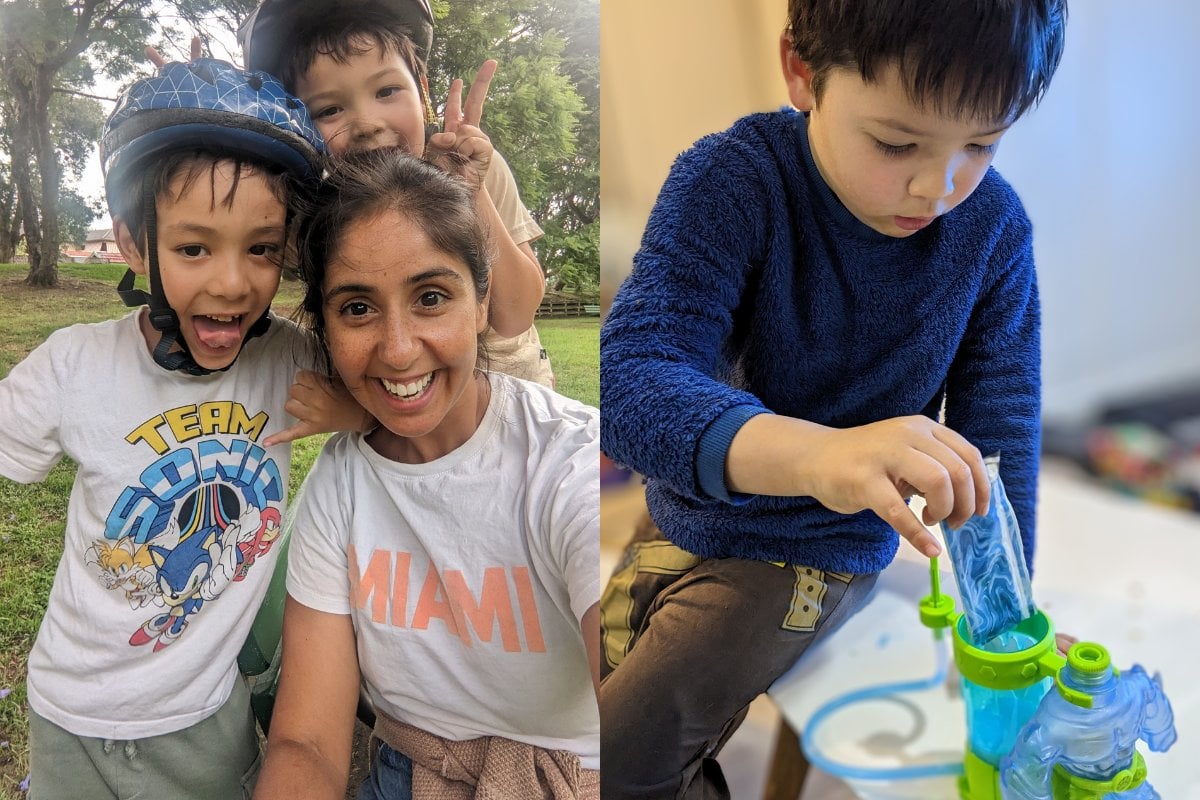
1. Build your own sensory toy.

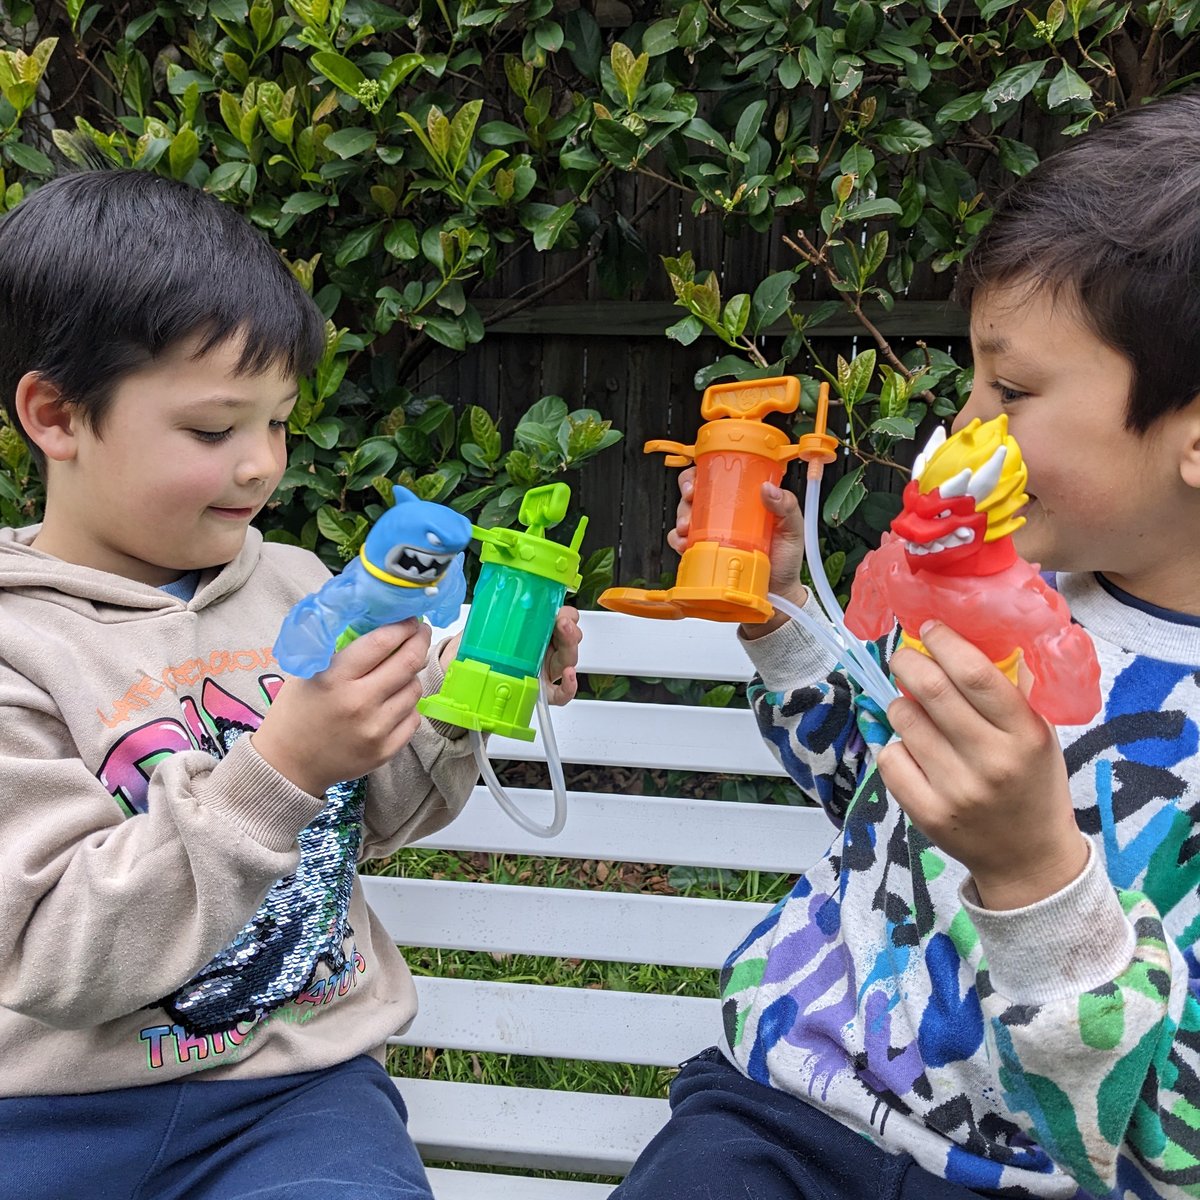
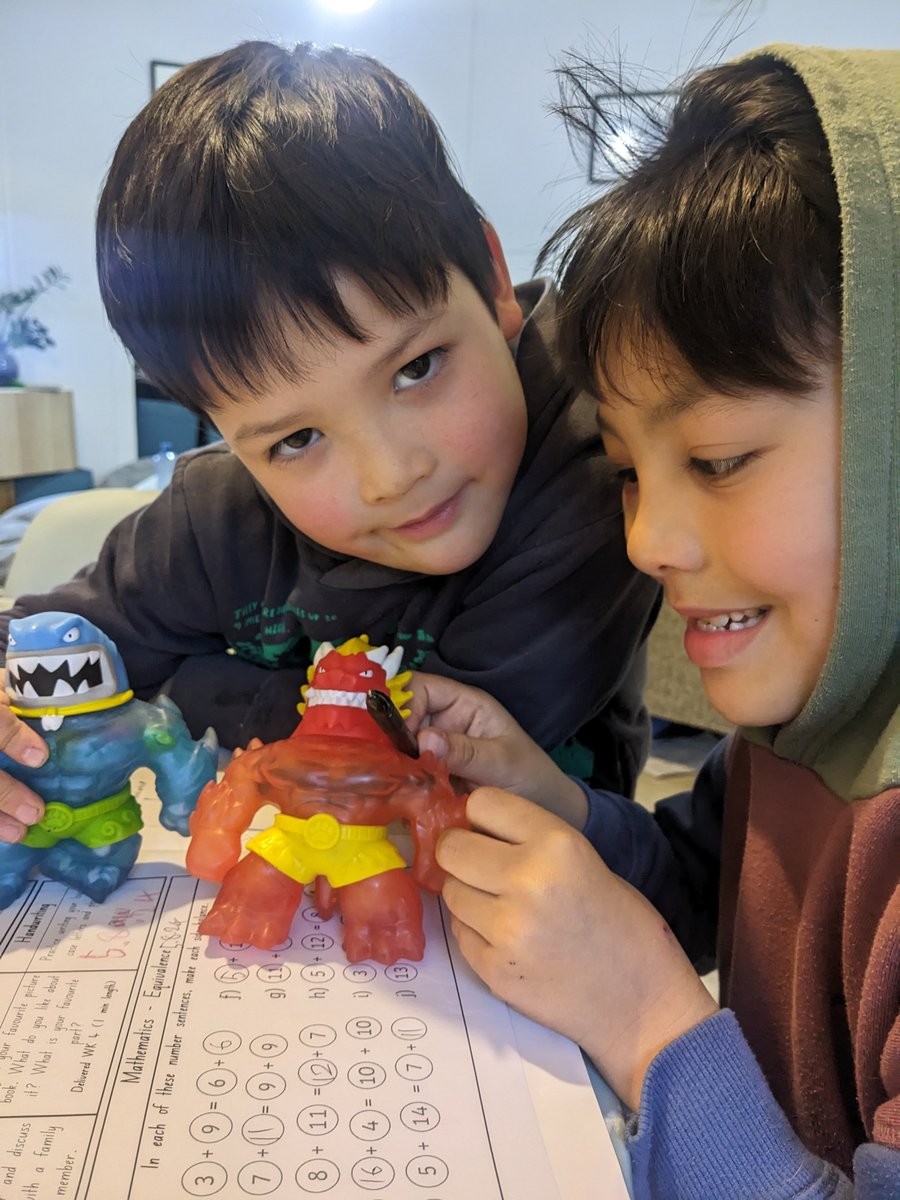
My five-year-old and seven-year-old sons are rusted-on fans of the animated TV series Goo Jit Zu, so they were stoked to try the new Heroes of Goo Jit Zu Hero Creator kits. Essentially, these are build-your-own sensory toy kits, containing everything you need to make your own gooey and stretchy hero figurine. 

ADVERTISEMENT

It’s not a one-trick toy either — you can empty the liquid-y insides and refill it with the pump over and over again.

The kit contains a 'hero' modelled after a character from the hit show, along with what my kids described as an "awesome" pump, as well as all the inside squishy filling materials.

Image: Supplied. 

To make it, all you do is pop the head off your chosen Goo Jit Zu hero figurine. Then, fill the pump with the provided goo, along with some water and connect the pump to the figurine's body. Give it a press, and the hero fills up with squishy liquid. Ta-da, you have a self-made sensory toy! Next, add the extra ingredients supplied with the kit.

ADVERTISEMENT

Once he’s all sealed up and the pump is removed, the Goo Jit Zu hero is ready to be squeezed and played with, just like any other sensory toy. My kids were especially impressed with their hero’s super stretchiness as it increased up to three times its size to almost half a metre in length.

Meanwhile, my kids even took to incorporating their hero creations creatively into their lives. They turned their Goo Jit Zus into 'breakfast heroes' by filling them with milk and Nutri Grain (and, of course, cleaning them out right after breakfast, I promise). My eldest son even had the sensory toy by his side as he tackled his homework, arguably creating the first 'homework hero'. Who knew Goo Jit Zu’s were so skilled at Year One maths?

Image: Supplied. 

ADVERTISEMENT

A tie-in toy from a hit TV show was always going to be a winner with my crew, but what I liked most was that this was a sensory toy we’d built and made ourselves.

2. Make a sensory tray.

Sensory trays have always had this inexplicable ability to enthral my ultra-high-energy kids — and they’re very easy to make.

Sensory trays (also called sensory bins) are simply a good-sized deep container filled with a tactile base material along with a few toys buried within them. That's it!

One of the best ones my younger son ever played with was underwater-themed. The tray was filled with squishy water beads and little plastic toy sea creatures buried underneath them. He was then given a tiny shovel and a miniature bucket — and it held his attention for ages. There was just something about scooping up those slippery beads and searching for the toys, then re-burying and searching for them again that had him transfixed.

ADVERTISEMENT

Aside from water beads (which you can get at craft stores or online), other ideal sensory tray base materials include dried pasta, dried lentils, slime, or even shaving foam. Then, just scatter some small toys in to 'find' and provide them with a few tools to scoop and dig around. Voila, you have a sensory tray.

3. 'Bake' a mud pie cake.

Building mud pies is an activity beloved by generations of children — and it certainly ticks all the sensorial play boxes. (Just maybe ditch the nice white linen clothes.)

We experienced mud pie making on a whole new level at a birthday party when the very clever parents arranged for party guests to work together to create a multi-tiered mud pie cake on a custom-built tower. It was next-level sensorial play.

Image: Supplied. 

ADVERTISEMENT

To do it at home, grab a bucket along with old cake tins and a mixing spoon. In the bucket, combine soil and sand with a splash of water and mix it into a soft but firm consistency. (Your kids will love this step as much as the actual end product!) Press the mud mix into your cake tins, give it a few minutes to set before upending them to reveal the ‘cake’.

Next, collect flowers, twigs, rocks, leaves and whatever you can find to decorate it with.

If you really want to up the ante, you could even make coloured fluffy foam 'icing' by mixing dish soap with a cup of water and food colouring in an electric mixer.

Messy? Absolutely. A heap of fun? Undoubtedly.

4. Float that boat.

When my kids were very little, playing 'sink or float' with various household objects by dropping them into the bathtub or a bucket of water was an endless source of entertainment — and, of course, a superb early childhood sensorial activity.

ADVERTISEMENT

But as they’ve gotten older, we’ve upped the stakes. Now, they use recycled materials to build a boat that floats.

We’ve tried milk cartons, yoghurt tubs, takeaway containers and whatever is hanging around the recycling bin. (It’s also good to give them materials like toilet rolls and egg cartons that ultimately won’t hold up in the water, just so they can experiment and see what happens.)

Armed with tape, the boys take their chosen recycled materials to fashion their unique boats before the all-important water launch.

In our household, the boat must stay floating upright for ten seconds to be deemed a success. And the question that keeps this sensorial play activity going longer is, of course: "Can you build a bigger boat?"

Image: Supplied. 

ADVERTISEMENT

5. Pantry to playdough.

There’s a reason playdough is a staple of early childhood play. It’s tactile for sensory development but also helps improve muscle control, teaches cause and effect and encourages creativity. Don’t write this one off!

Sure, you could buy it, but I’ve always found that my children’s interest is piqued when you get them involved with making it.

There are plenty of great online DIY playdough recipes, but here’s my favourite easy one:

  • Step 1: Add 1 cup of flour, 2 teaspoons cream of tartar and 1/3 cup of salt to a saucepan.
  • Step 2: Add a few drops of food colour, a cup of water and 1 tablespoon vegetable oil.
  • Step 3: Grownups only from this point. Place the saucepan on medium/low and stir the mix. Within a few minutes it’ll become lumpy, form together and start sticking to your spoon.
  • Step 4: Remove the dough from the pan (being mindful of it being hot) and give it a quick knead. Leave it to cool and then give it one more knead. 

You’re ready for playdough playtime! I like to give my kids cookie cutters, plastic utensils, or even plastic toys and shapes that can be used to press and shape the dough.

The dough will also keep for a few days in an airtight container — so you’ve got a sensory play activity sorted for days to come.

Shop Heroes of Goo Jit Zu Hero Creator from TargetBIG W and Kmart

Feature Image: Supplied. 

Moose Toys
BRAND TEXT GOES HERE.