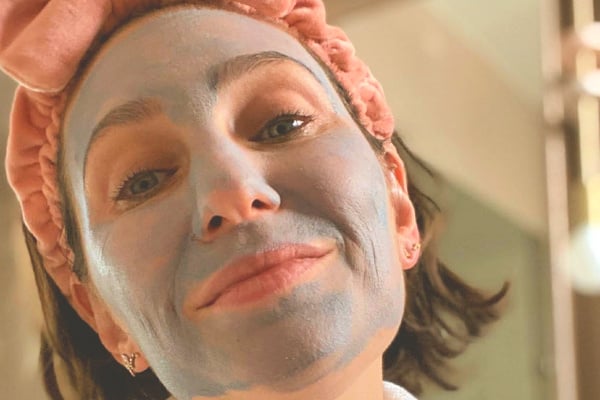
In my opinion, anytime is a great time to give yourself a facial at home.
But for those who are normally busy working, looking after kids or just can’t be effed, weekends or evenings spent staying in mean you now have the time to give your isolation skin some attention.
Everyone from Zoe Foster Blake to Jessica Alba is doing it, so why shouldn’t you? Even better if your skin is feeling a bit dry, pimply or blah right now and you aren’t able to book in to see a skin specialist or dermatologist.
If you’re keen, keep scrolling for the ultimate, non-intimidating guide to doing a DIY facial.
WATCH: We tried the Insta-famous glitter face mask to find out if it’s worth your money. Post continues after video.
DIY facial basics.
How long will it take? 20-30 minutes, depending on how many steps you feel like doing.
What products do I need? Below are a list of the types of products that are great for an at-home facial, but you don’t need them all. Have a look at what you’ve already got in your bathroom/in amongst a pile of crap in your spare room and go from there.
- Clean towel.
- Oil face cleanser – you can skip this step or sub with coconut oil, jojoba oil, extra virgin olive oil if that’s what you’ve got handy.
- Gentle face cleanser.
- Chemical exfoliant OR gentle face scrub.
- Face mask(s) – you can use a clay mask, detoxifying hydrating mask, firming mask, brightening mask, sheet mask or a combination of a few.
- Serum and/or face oil.
- Moisturiser.
- Facial massage tool – quartz roller, gua sha or your fingers!
Do I need to do every step? Not at all. Do what you want to do. And if you’ve got sensitive skin, just do the steps that will work for your skin.
Top Comments