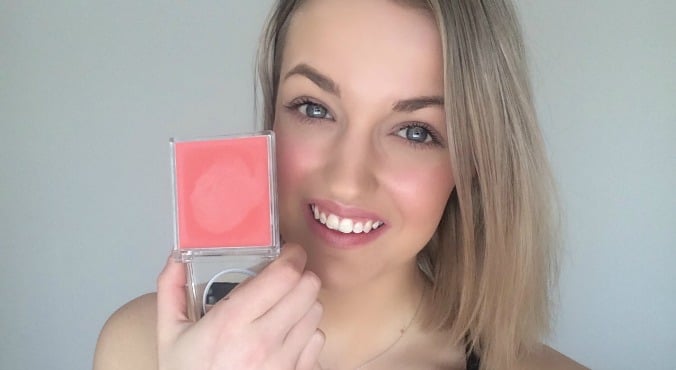
Image: supplied.
Now it’s spring, all we’re hearing about is warm weather (hooray) and cream blush. But while it feels like the beauty world is up to speed with the cream variety of cheek candy, when we use it it just looks, well, messy.
It doesn’t have to be that way. Here’s how.
1. Prep and prime.
This isn’t new information, but a decent priming routine will set you on the right track to achieving rosey, glowy goodness. After prepping your skin with a hydrating primer, apply your favourite liquid foundation, and let it settle for a moment. (Post continues after gallery.)
If you typically set your foundation with a powder feel free to do so, but be sure to steer clear of your cheeks. Layering your cream blush over powder will take away the blush’s sheen and will give the appearance of a muddy complexion. Cream blushes are brilliant because they’re creamy, so it’s best to apply your setting power in your T-Zone only.
2. It’s time to get finger painting, Glowies.
For the application, forget everything you’ve been told about makeup tools and brushes.
Drop the brushes. Ditch the sponge. You’re going in solo. The rumours are true – cream blush is best applied with your fingers. Your digits provide heat, which works the cream into your skin better than any brush will.
If you’re concerned about looking like you have pink army paint smeared across each cheek, don’t be! The beauty of cream blushes is that they’re translucent and incredibly easy to blend. They’re a fantastically thin consistency, so your blush will move wherever your fingers tell it to move!